Pulsed Laser Repair
One of the many joys of working in a research lab is needing to handle a wide range of equipment, spanning from consumer goods, industrial equipment to priceless prototypes. The following chronicles one incident in which our supercontinuum laser broke down, and was thankfully easy to correct without needing to return it.
Today, we're dealing with a SuperK COMPACT made by nktphotonics. This laser operates by firing a high-power, pulsed 1064nm laser into a non-linear fiber, which results in a train of broad-spectrum pulses of light.
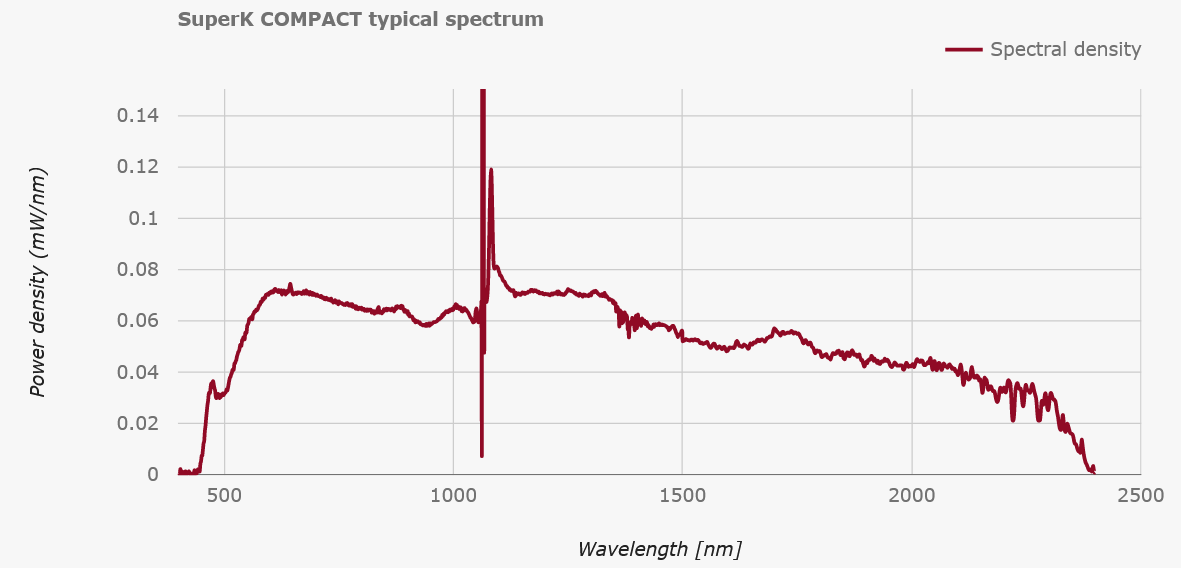 As the spectrum shows, the non-linear broadening results in a somewhat coherent laser beam that spans from Violet to SWIR. In our lab, we use this to generate a broadband signal from around 600-650nm in order to perform transmission spectroscopy of ultra-small optical cavities. Similarly, we also use the 800-1000nm range for reflection spectroscopy of the same cavities. In both cases, the spectral structure allows us to determine the length of our cavities, which is very useful when trying to shorten them down to ~10um while inside a cryostat.
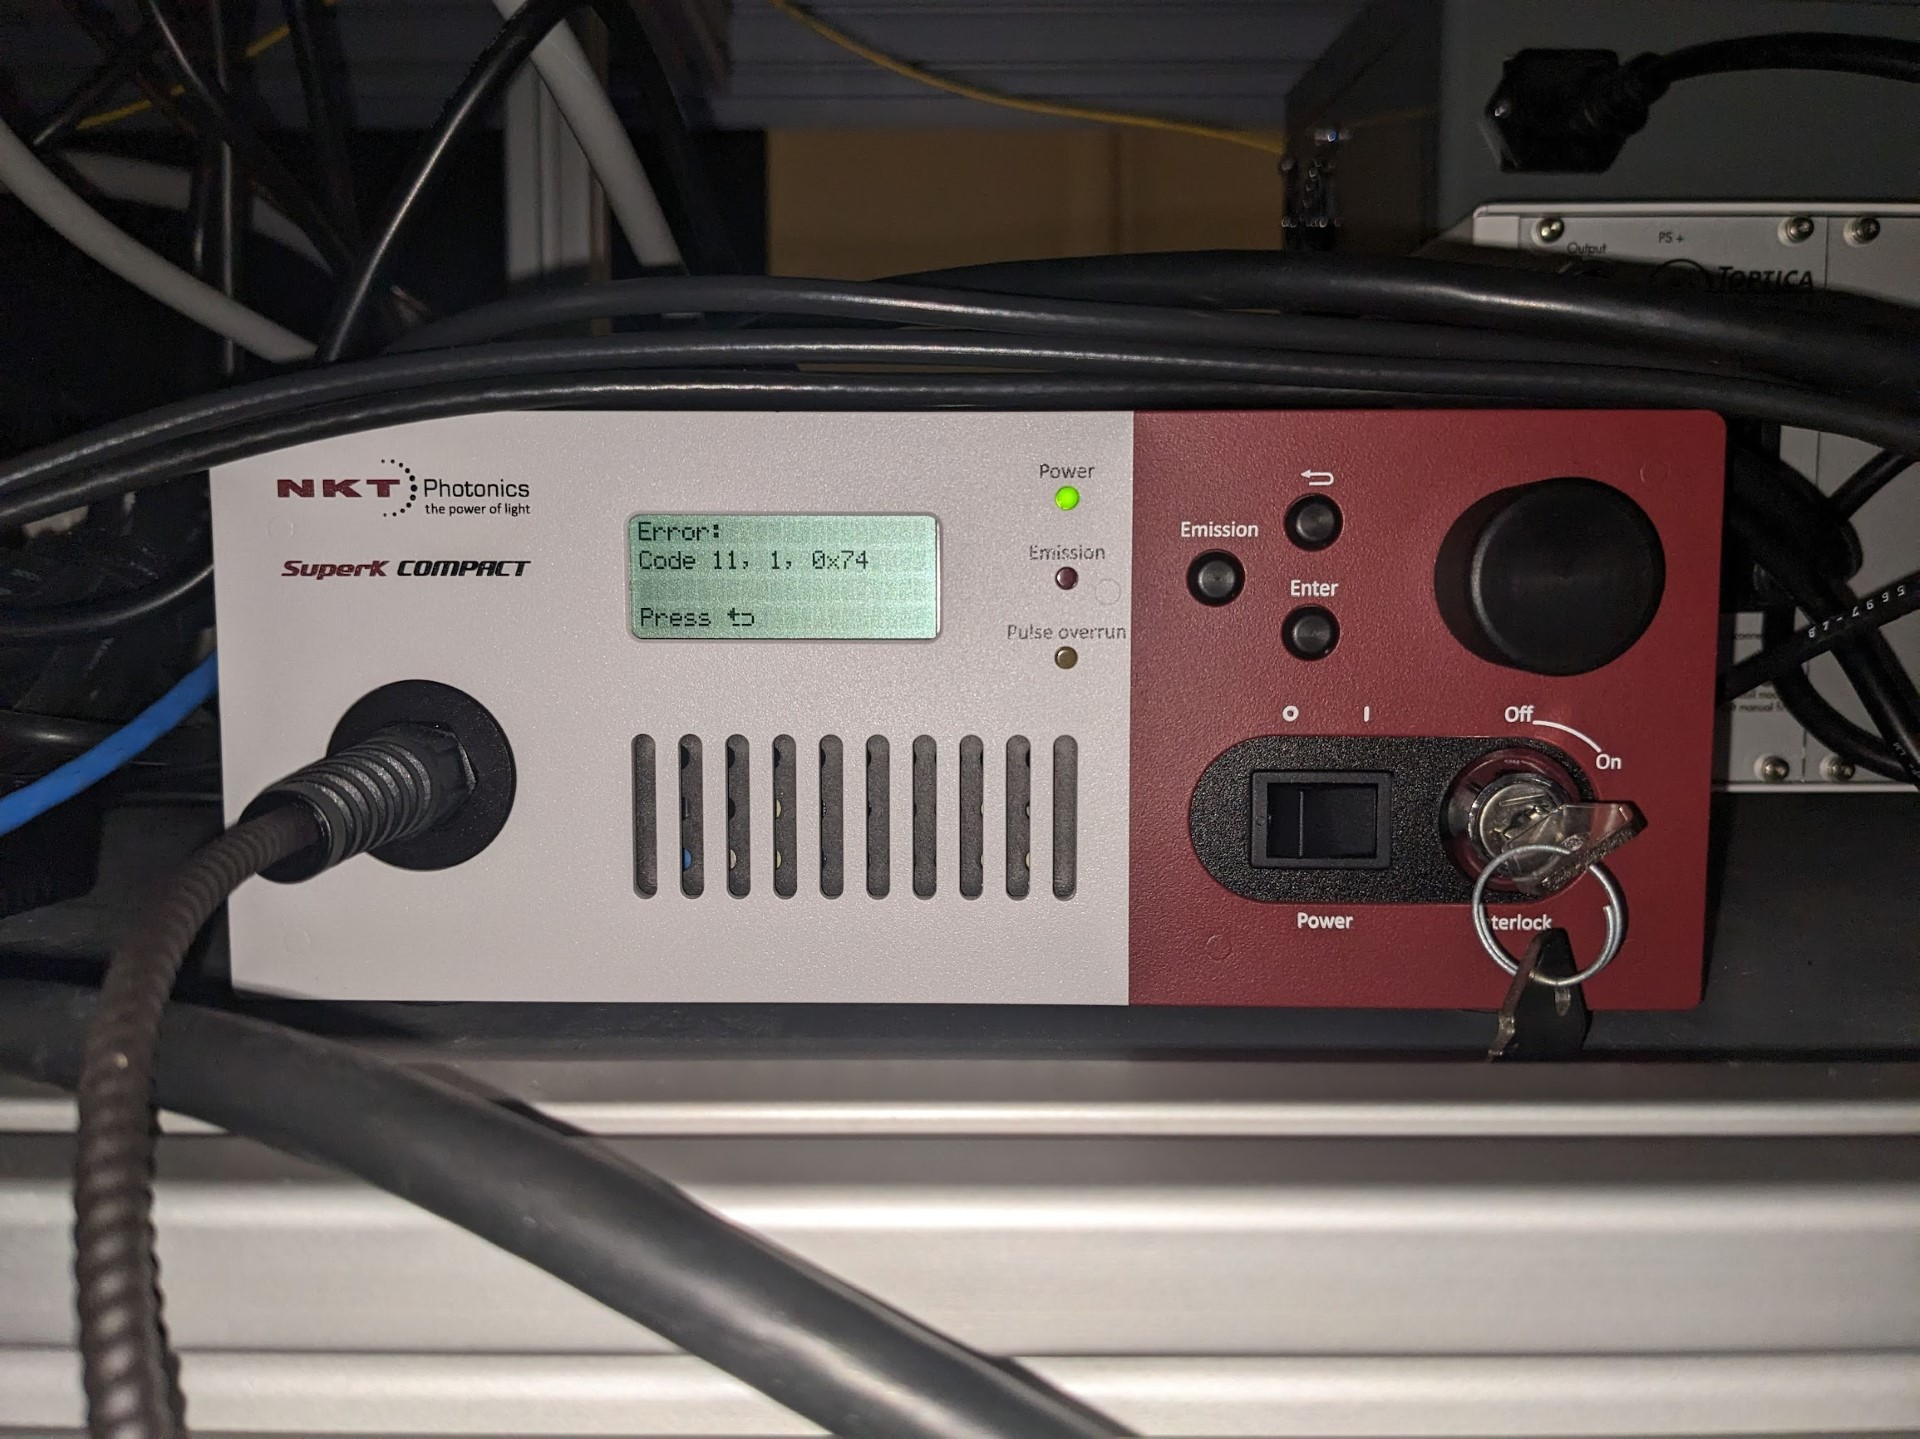
On one choice day, the laser gave up on operating, throwing only a very cryptic error message:
"Error: Code 11, 1, 0x74". Please, if you're making a piece of equipment, for the sanity of grad-students around the word, write better error messages.
 Well, hopefully no worries, let's just pull up the manual and see what's what. Luckily, NKTPhotonics is kind enough to make a pdf of their manual directly accessible online.
 Oh lovely, the manual clearly indicates what to do if an error occurs, we just need to go look up the specific code, let's move on to Appendix G!
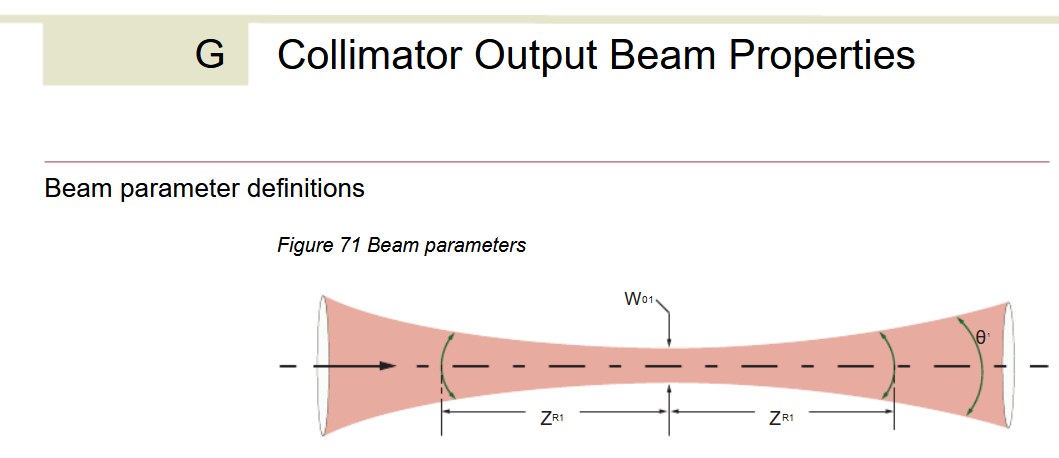 Hmm... that doesn't seem right. I guess we're stuck without instructions.
(Note: This has since been updated... by removing the reference to Appendix G in the Errors section.)
Again, please, make clear instructions for what to do when specific errors occur.
Alright well unfortunately the next best step is to contact the support of the company directly.
NKT gets points for having a support contact form which also sends you a copy by email! Always great to know that you've actually successfully used their form and aren't just screaming into the void.
 Gloriously, by the next day, a response has been received! The nice thing about time-zone differences is that some of your problems can be solved while you're sleeping. Annoyingly, we're told that the problem is likely due to dust accumulating inside the laser. Now I don't know about you, but I try to minimize all dust in an optics lab that has lasers, and so this is definitely not the issue.
The other proposed solution is also problematic, as this laser is necessary to our experiment and no one wants a several week setback from sending it across an ocean to get repaired.
In otherwords:
 (Note, it's me, I'm the skilled technician.)
In response to this, we get one of my favourite lines:
 i.e. we don't care, you do you. Now I'm also slightly amazed that they usually repair the full PCB for something that can likely be repaired with a simple fan change. Now that I think about it, the fan was making a weird grinding noise, probably should have looked into that sooner...
Well, now we get to the best part, opening up a multi-thousand dollar piece of equipment with some esoteric laser magic inside!
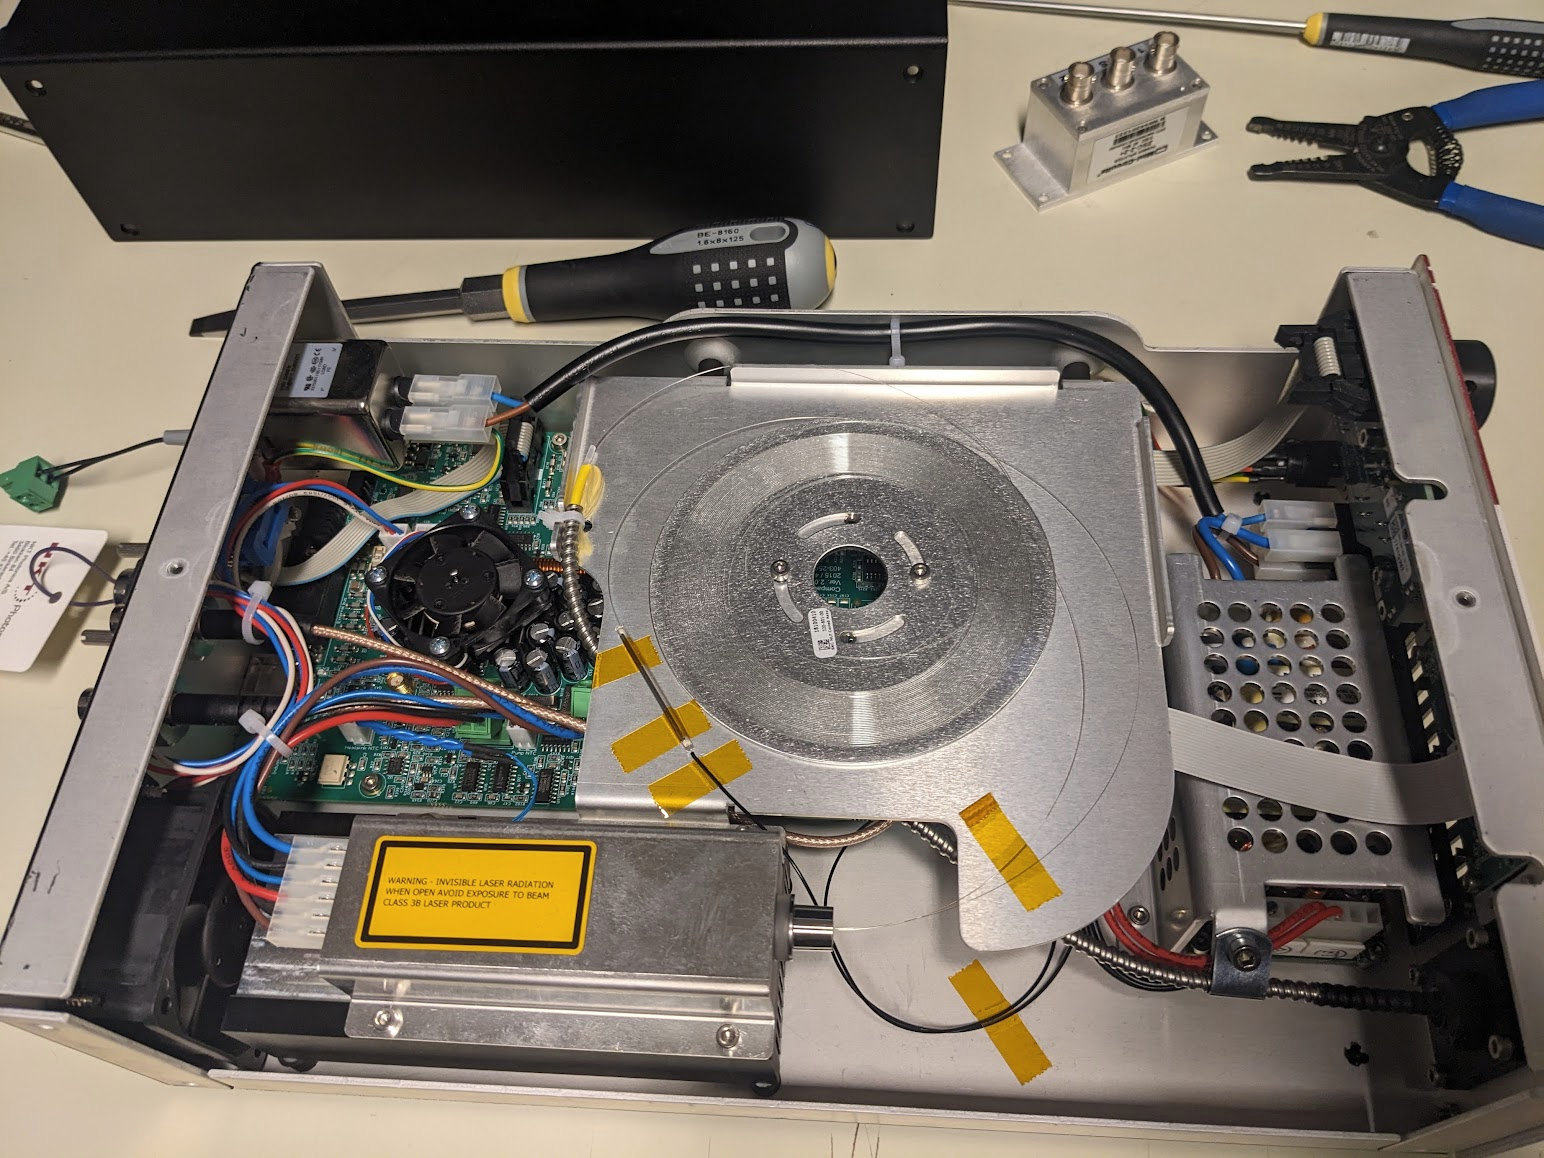
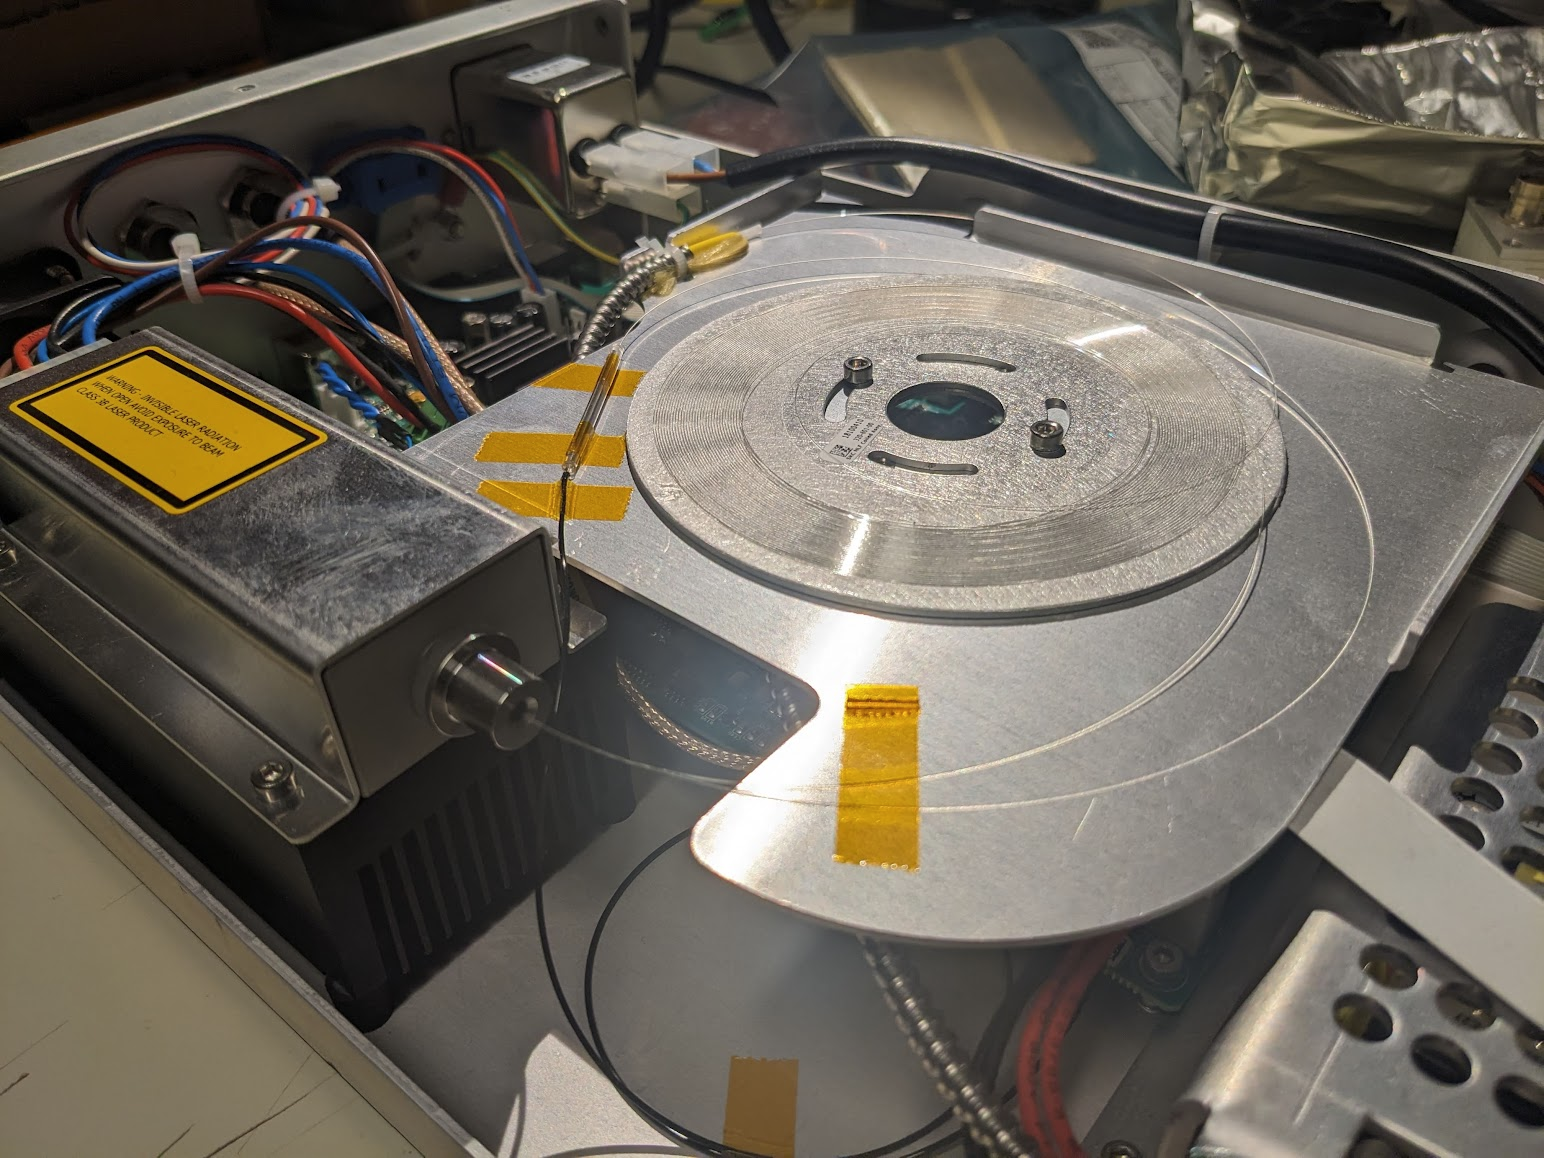 A few quick screws later and we're in! Amazingly the fiber is just right there. Flapping in the breeze if not for a few choice pieces of everyone's favourite: Kapton tape. Given that the output spectrum has a very sharp spike at 1064, we can guess that the large diode module in the bottom left is a seed laser, and the central coil is Ytterbium doped fiber to amplify the pulses. Following that, the one fiber spliced to the taped sleeve likely snakes down under the board to a monitor diode via that black fiber taped to the bottom. The important bit is the large armored fiber that proceeds to the exit, carrying the fragile non-linear photonic crystal fiber (PCF) that performs the magical spectrum generation.
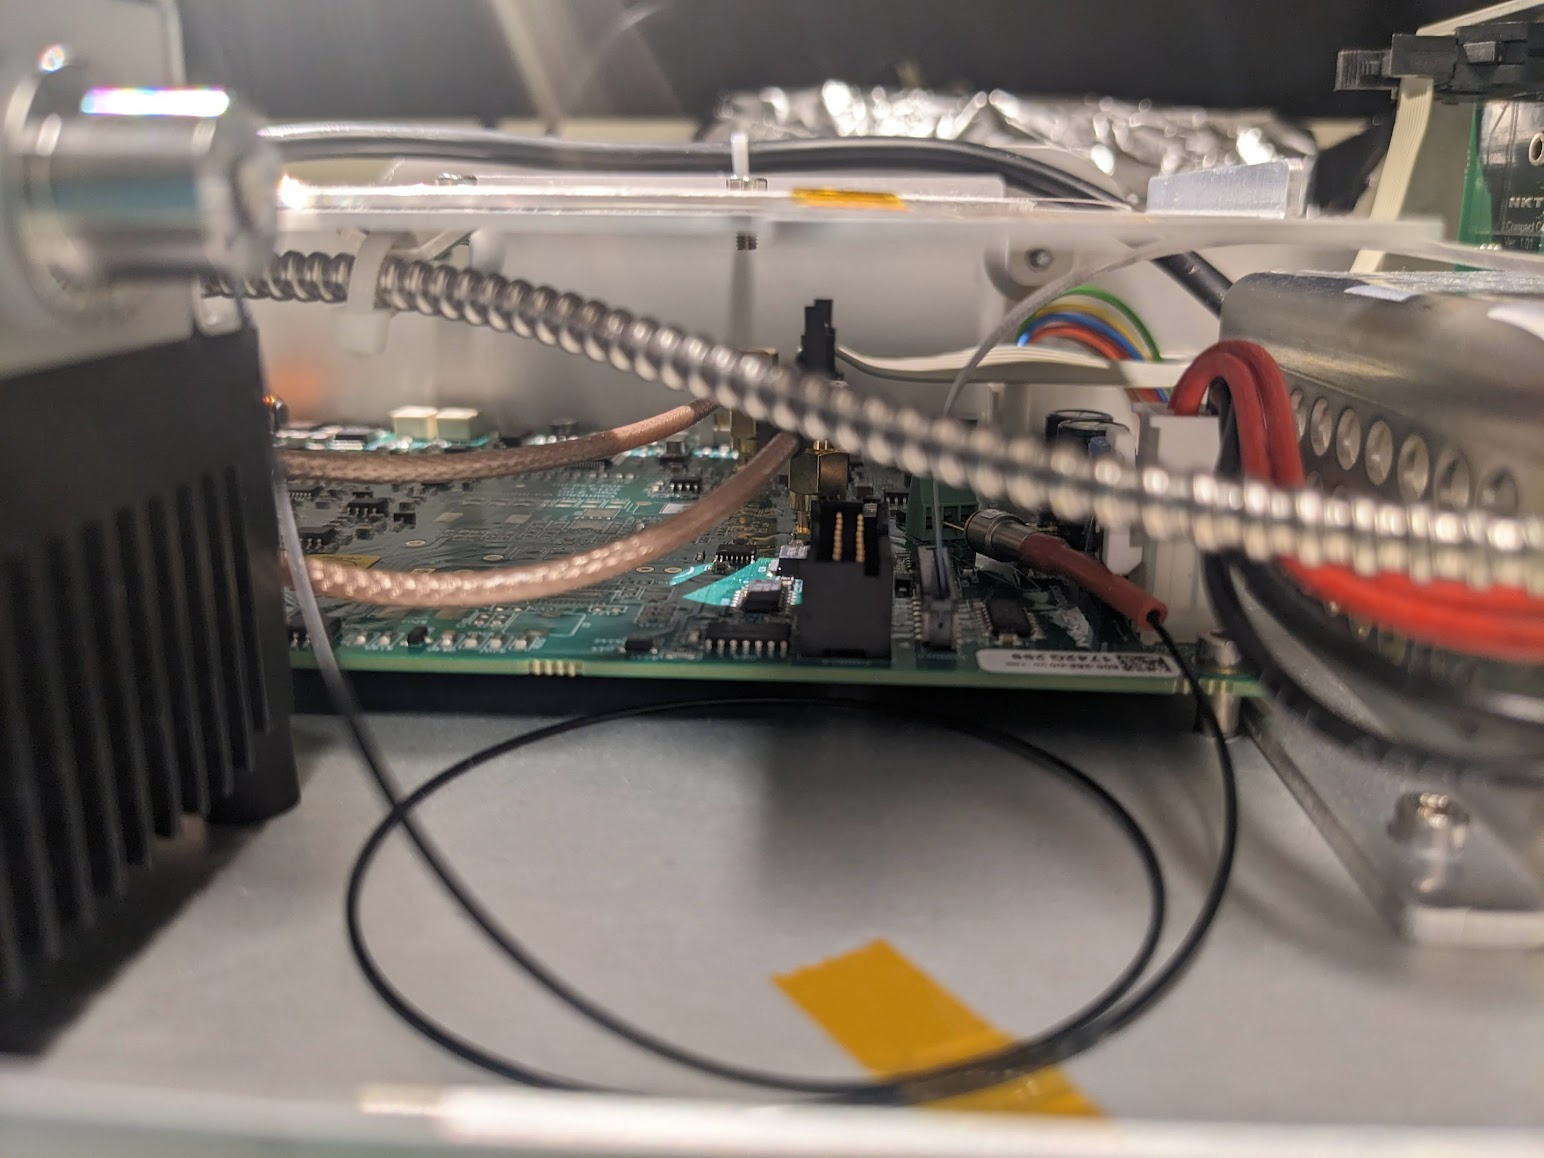 Peaking under, we can see that there is a monitor diode, just jammed right into some screw terminals. Interesting design choice...
Speaking of screw terminals, what is going on with these angled connectors going to the diode module?
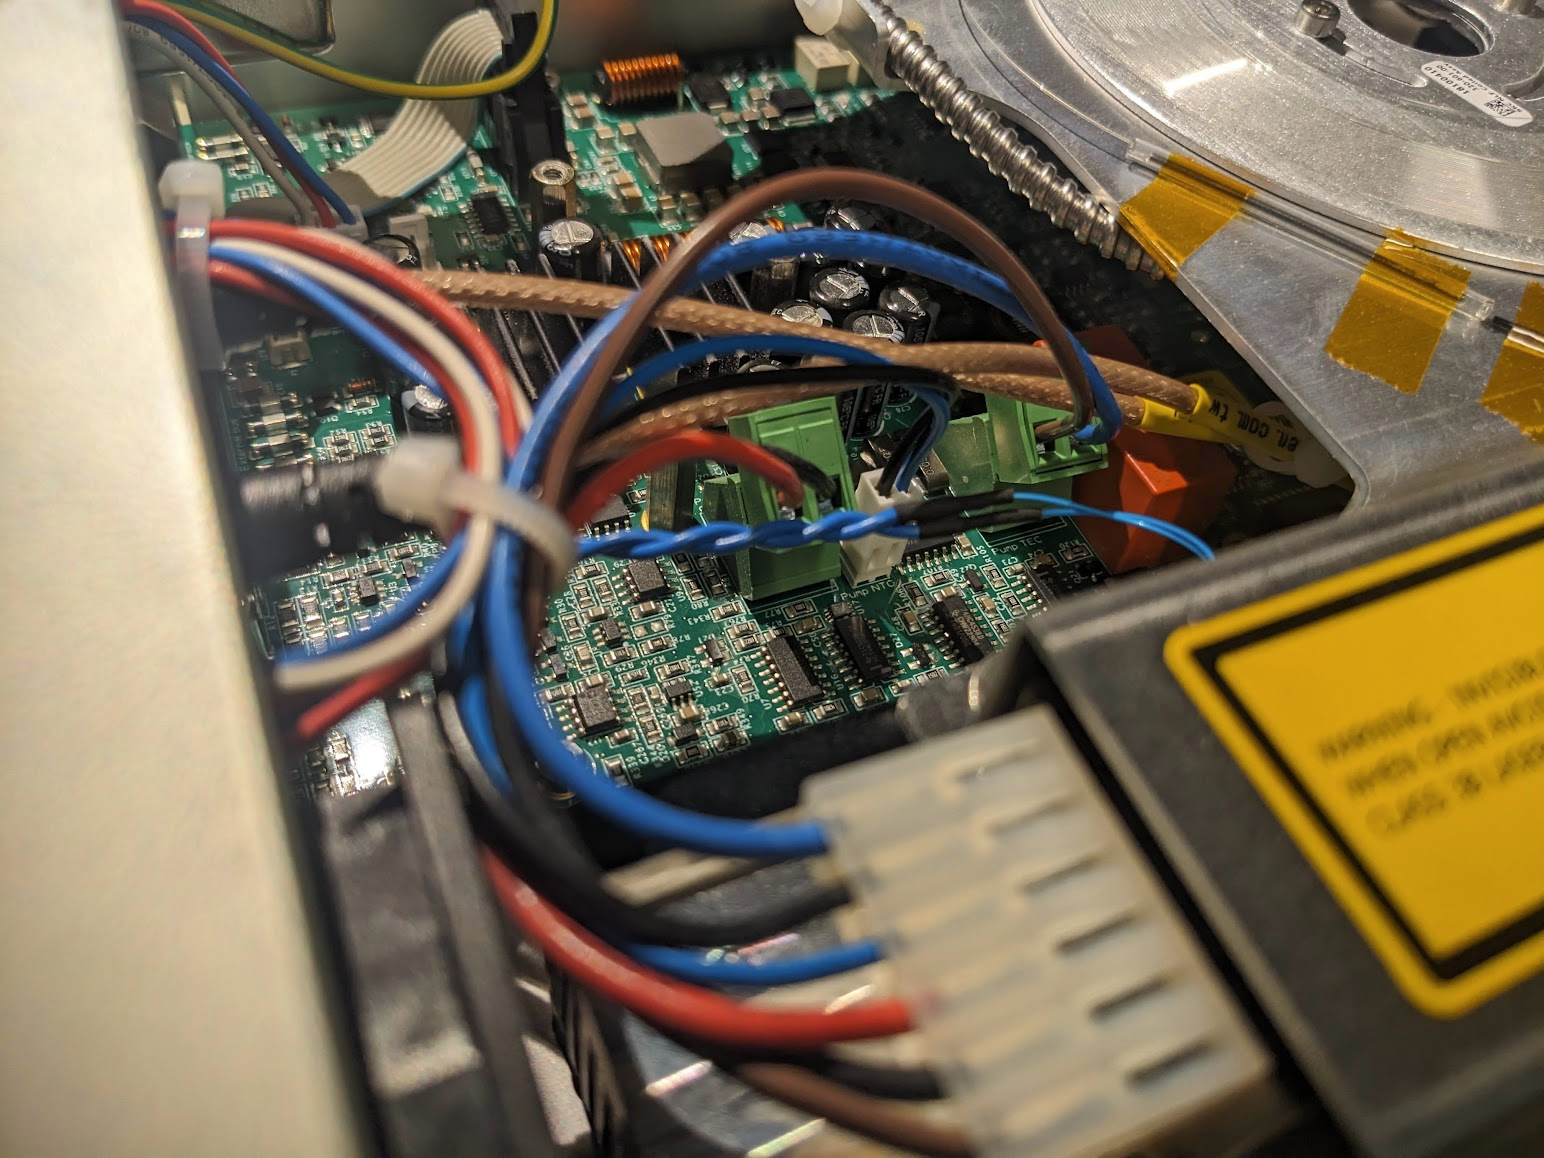
(Un)fortunately, we get to ignore all the optics and just focus on the boring fans. Despite some crunching sounds, from the exterior I had observed that what I thought was the only fan, nuzzled behind the laser diode, was operating just fine. However, there's an additional internal fan! So I assume it's this one that was being problematic.
Yanking this fan out, we can thankfully find an identical copy on Digikey, to increase the chance of a succesful repair 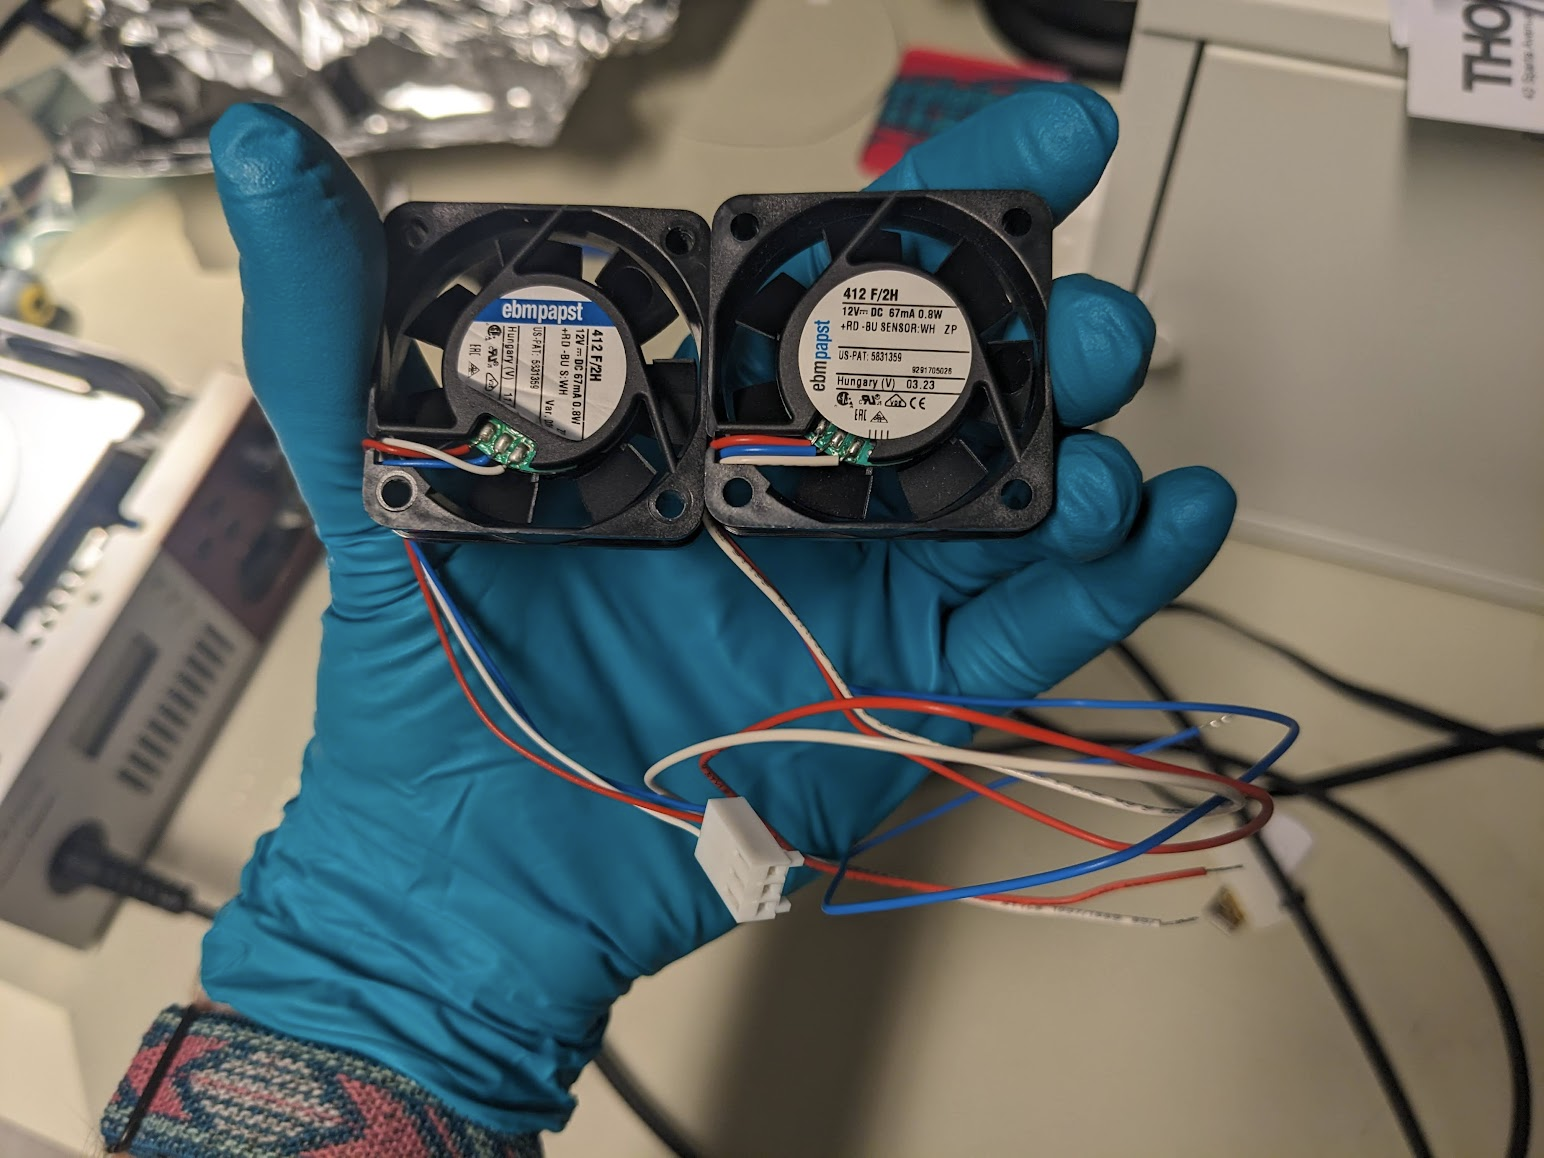 With some quick blog-magic we can jump straight to having the good and the bad. Annoyingly, the fan I purchased came with bare leads, not a connector. Now we could fix this properly, but it's much faster to just swap them via some soldering...
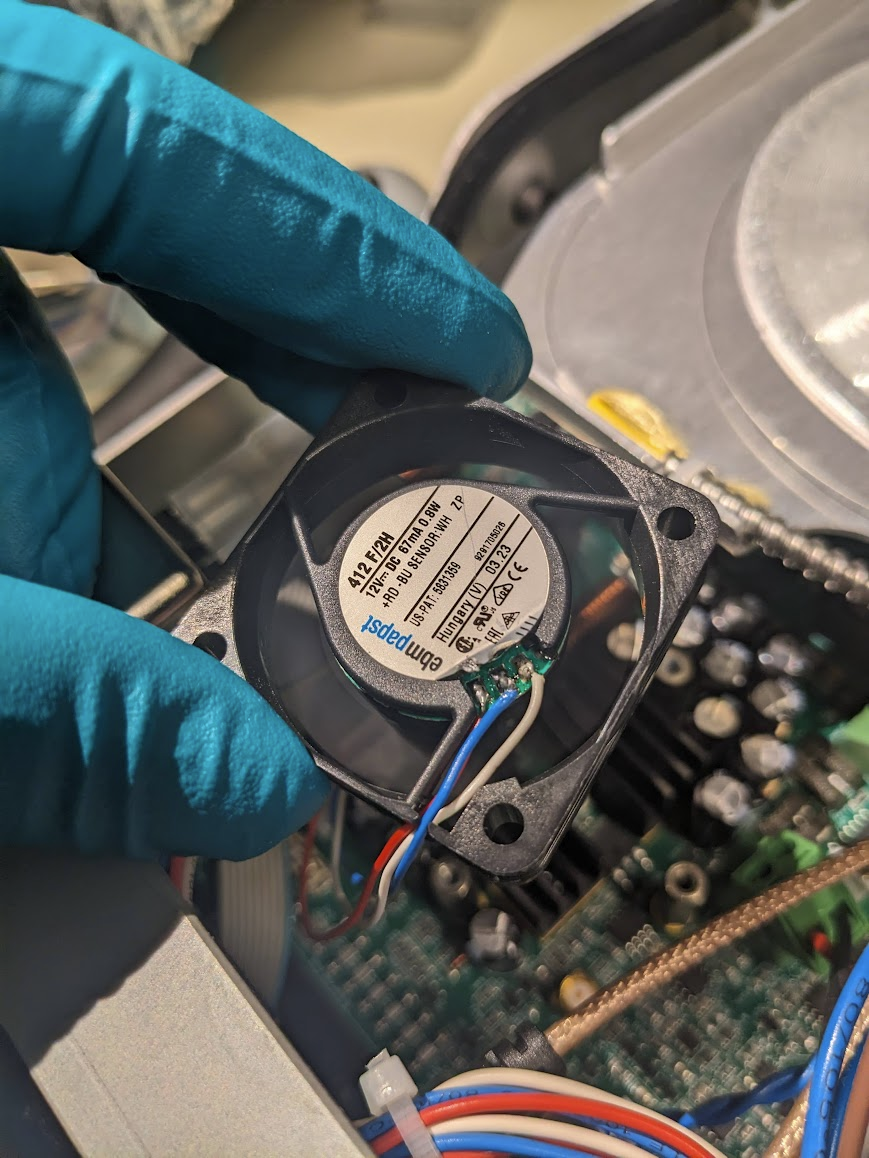 And maybe melt the sticker a bit...
With everything back in place (except the cover) we can check that the laser works again. Engage all the goggles though, since we need to protect our eyes from 100 mW of the entire spectrum!
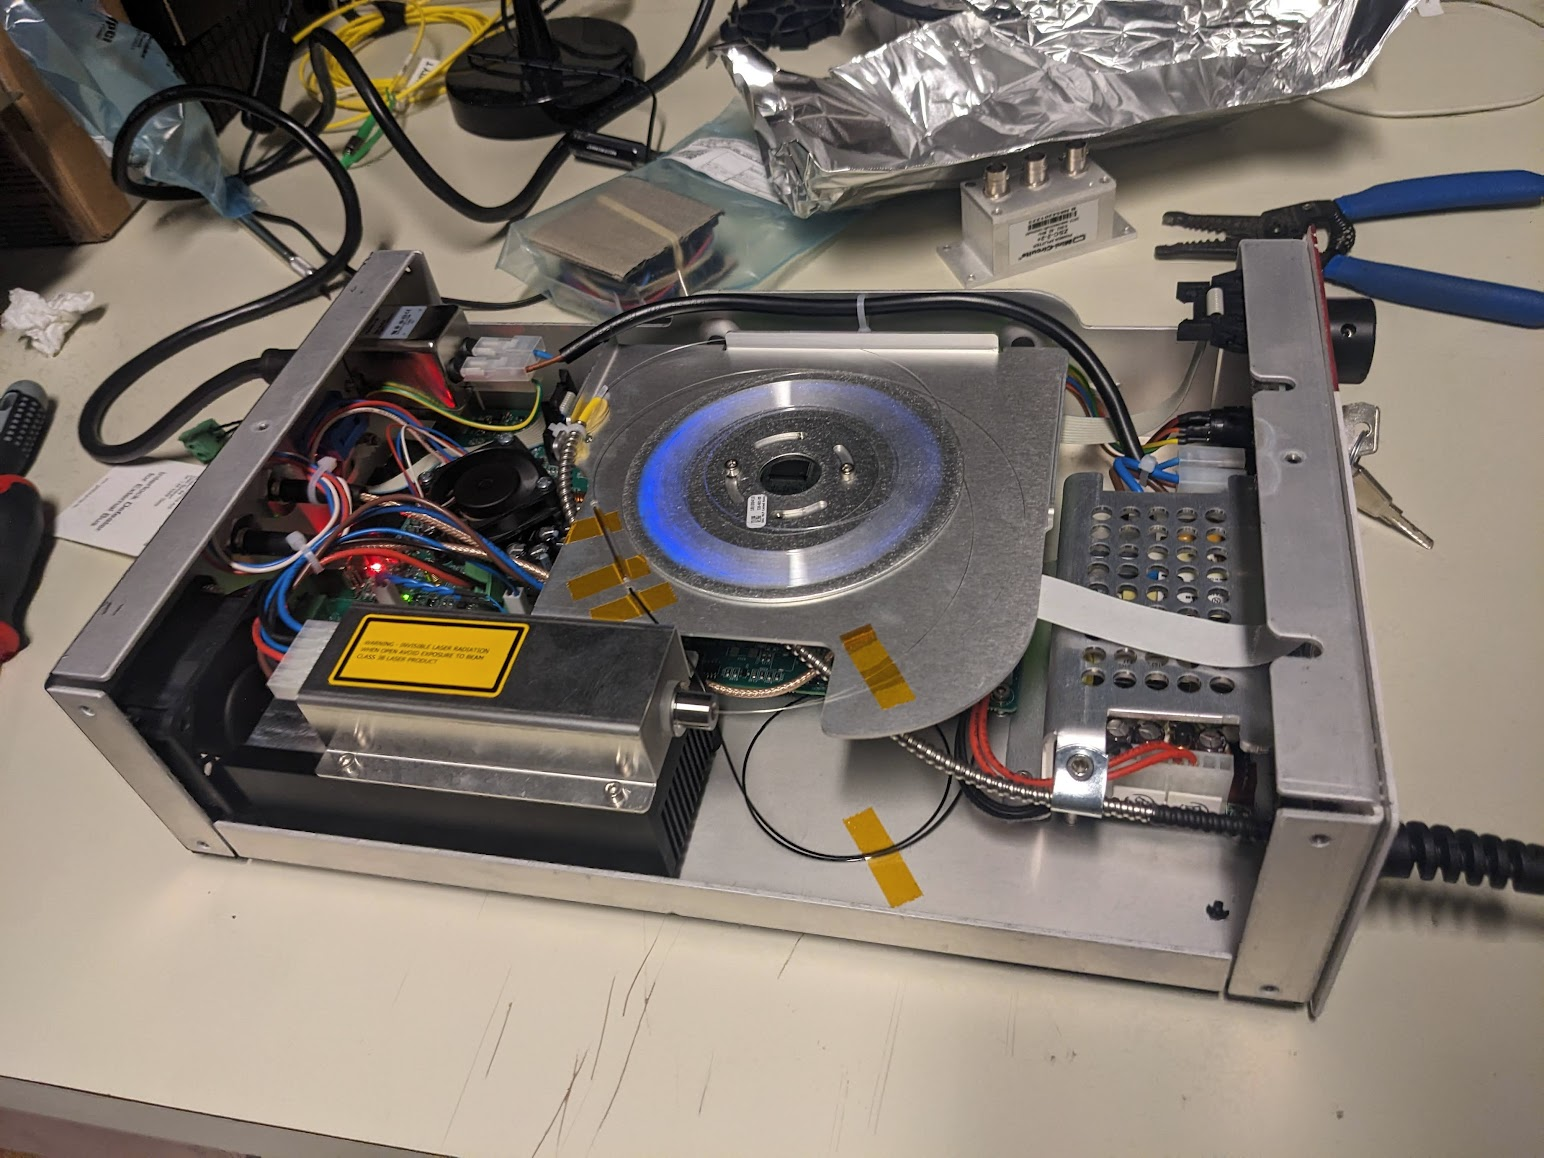 The eerie glow of the fiber indeed confirms that we're sending some pulses.
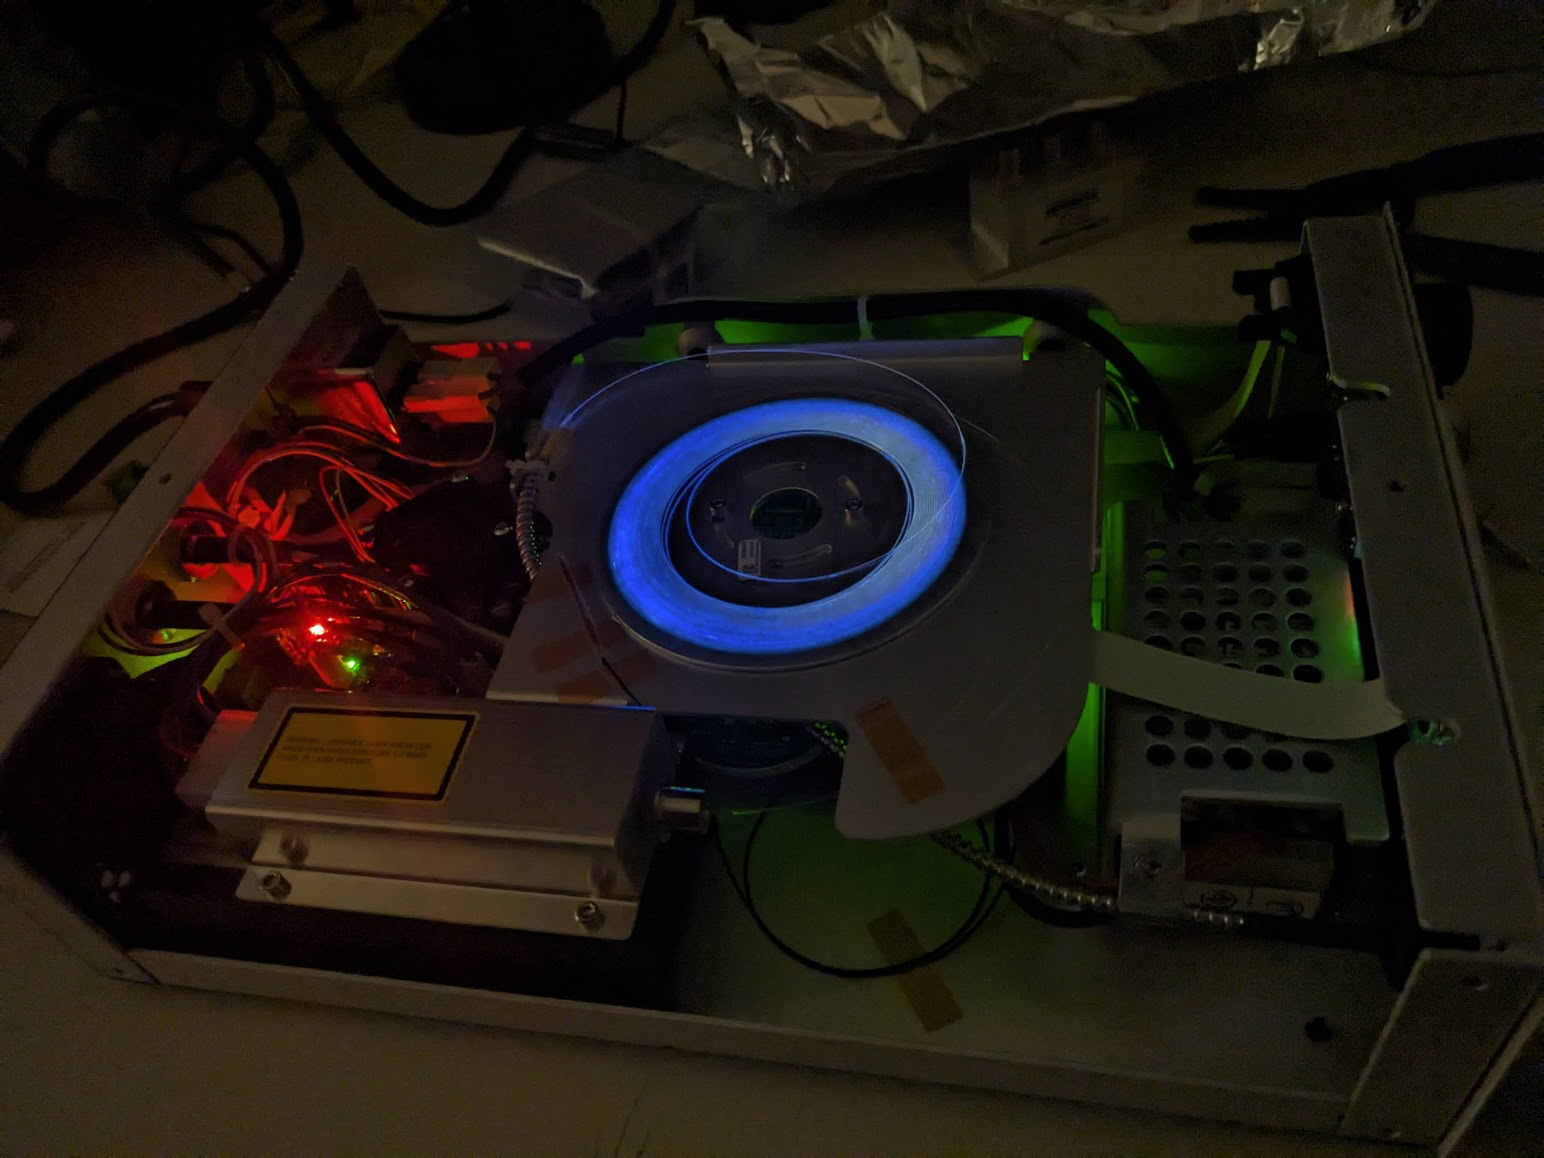 Taking full liberty with our fancy fiber and blinkenlights, we get some nice shots of that scary blue glow. Now, you could actually see this blue, it's not just the camera picking up some IR in a weird way. I'm not quite sure what's going on here, but I'm not too familiar with the dynamics of pumped fiber amplifiers.
Lastly, shining the fiber at the wall, we can see our glorious white laser beam
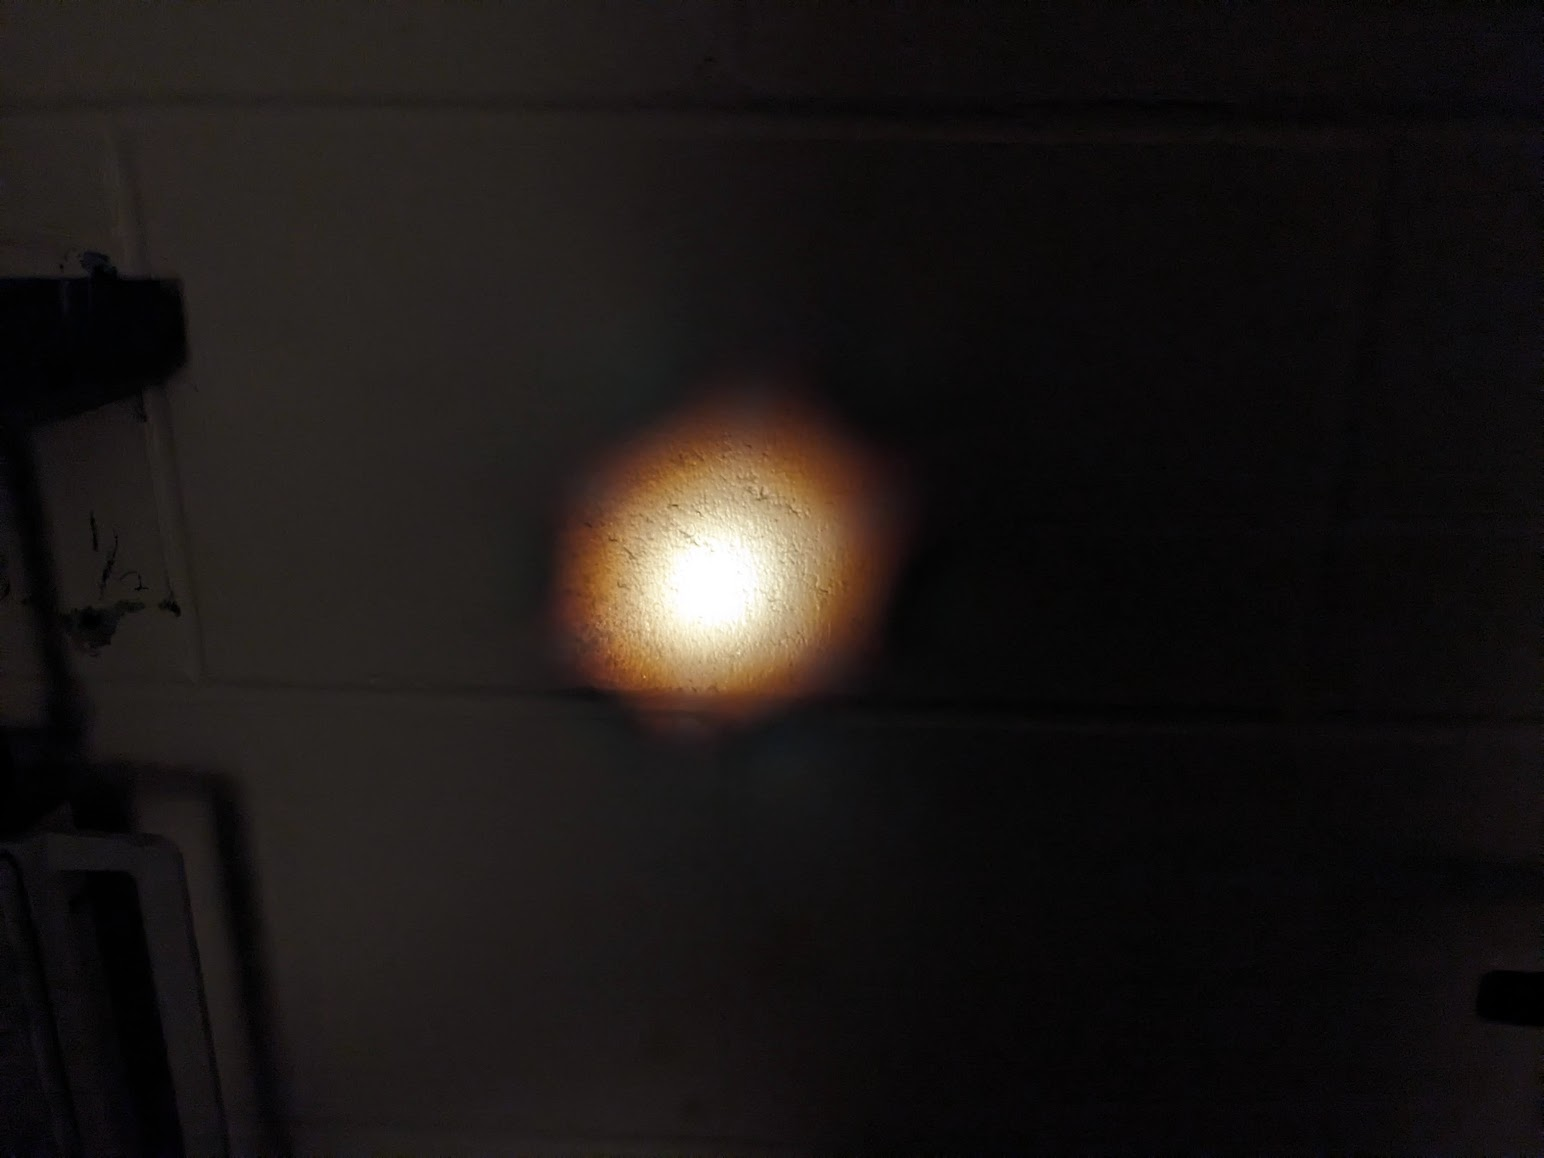 With a nice hexagonal profile incurred by the PCF that generates it .
Luckily, in this case everything went well and we didn't break anything more than it already was. Hopefully things will go just as well next time.